Embroidered Patches have moved beyond simple embellishments to become a powerful form of personal expression. Whether you’re revamping a beloved denim jacket, customizing a tote bag, or adding flair to a hat, patches offer an easy, affordable way to tell your story. This introductory guide covers design options, backing choices, and practical tips for achieving a professional, durable finish. You’ll also discover how platforms for custom patches, patch embroidery, iron-on patches, denim patches, and DIY patch design can inspire your project. By the end, you’ll feel confident selecting designs, choosing backing methods, and applying patches whether you’re crafting for fun or scaling a small business.
Beyond the exact label, you can describe this craft with alternative terms like fabric appliqués or decorative badges to emphasize its textile nature. These stitched adornments function as textile embellishments that personalize jackets, bags, and hats across materials such as denim, leather, canvas, and cotton. In practice, you might think of them as embroidered insignias, sewn-on emblems, or decorative patches—the same idea expressed through different terms. Exploring these LSI-friendly variants helps readers connect with the concept even if they search for different phrases. The following sections translate the idea into actionable steps for backing selection, placement, and application.
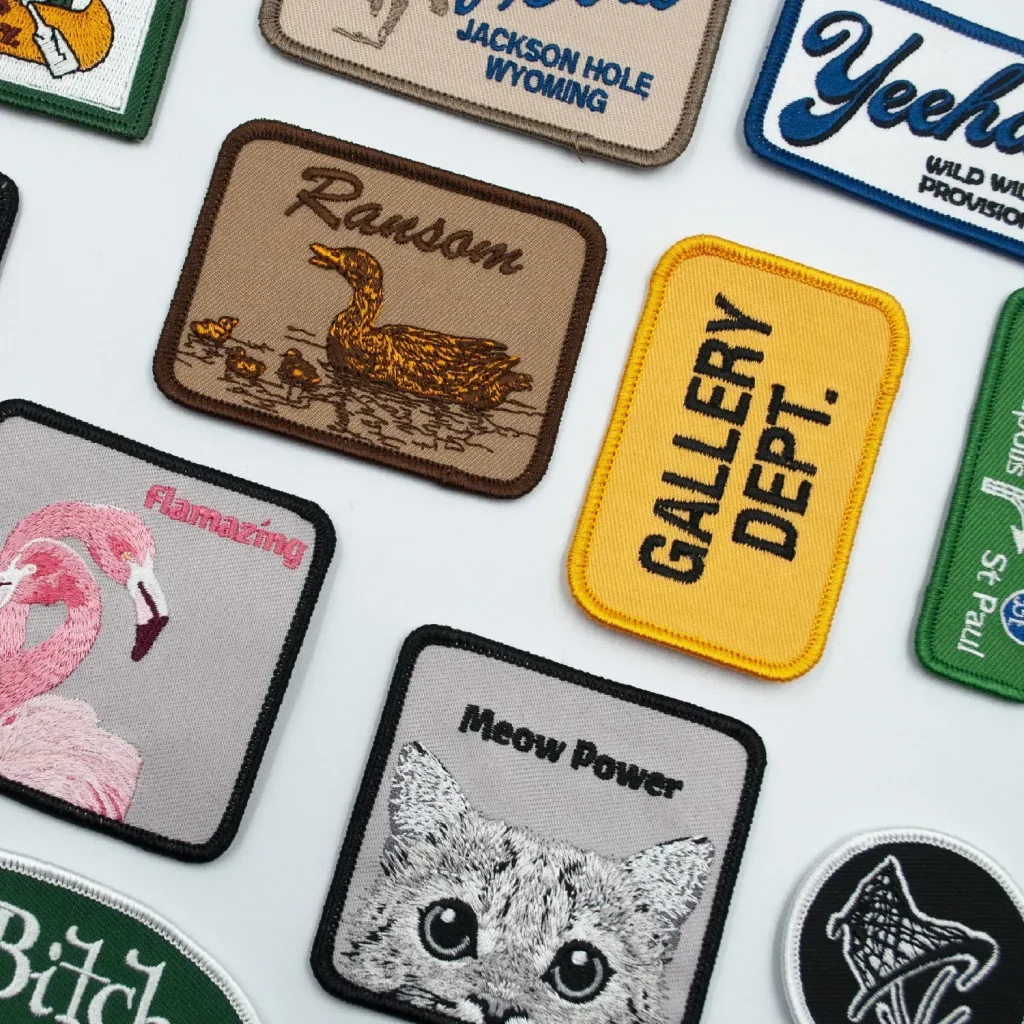
Embroidered Patches: Personal Expression Through Custom Patches
Embroidered Patches have moved beyond simple embellishment to become a powerful form of personal expression. Whether you’re revamping a favorite denim jacket, customizing a tote bag, or adding flair to a hat, patches offer an easy, affordable way to tell your story without committing to permanent techniques. This guide uncovers Embroidered Patches from concept to application, highlighting how custom patches can define a signature look through patch embroidery and practical finishing.
From concept to execution, patch embroidery blends artistry with durability. Choosing a thoughtful design, the right size, and a robust backing ensures patches withstand daily wear and washing. Whether you lean toward iron-on patches for quick transformations or sew-on patches for long-lasting durability, the right approach makes a lasting statement.
Choosing a Patch Design: From DIY Patch Design to Brand Cohesion
Choosing a patch design starts with a clear purpose: who is the audience, what story should the patch tell, and how will it be used. This mindset is essential for designers working with custom patches or pursuing a DIY patch design, helping determine size, color palette, and level of detail.
Consider examples like a bold hero badge on a leather jacket or a playful scene on a backpack. The design elements—theme, size and shape, color strategy, and edging—guide how patch embroidery translates from concept to fabric, ensuring legibility and brand resonance across multiple patches.
Backing Options for Patches: Iron-On, Sew-On, and Beyond
Backing determines how patches attach to fabric. Iron-on patches offer convenience for fabrics that tolerate heat, while sew-on patches provide the most durability across textiles. Each method has trade-offs, and understanding them helps you pick the right backing for your project.
Beyond iron-on and sew-on, peel-and-stick or adhesive backings can work for temporary crafts. Always consider fabric compatibility—coated leather, stretchy knits, or delicate textiles may require testing a small patch first to prevent damage and ensure a long-lasting bond.
Patch Embroidery Techniques: From Digitizing to Edge Finishing
Patch embroidery blends traditional stitching with modern techniques. The process begins with digital design and digitizing, converting a visual concept into machine-ready instructions. The base fabric—twill, felt, or leather—should complement the patch’s design and intended wear.
Stitch types and density are critical: satin stitches for bold outlines, fill stitches for color blocks, and running stitches for fine details. Edge finishing, such as a merrow edge, creates a clean, durable border that helps patches resist fraying and wear.
Denim Patches and Other Fabrics: Material Choices for Durability
Denim patches remain a timeless favorite, prized for their rugged look and easy care. Patches also translate beautifully to leather jackets, canvas bags, hats, and even sneakers, with each fabric presenting its own set of challenges.
Denim patches benefit from compatible backing and appropriate stitch density to prevent puckering, while leather patches may require sew-on methods or leather-friendly adhesives. Testing patches on a hidden area helps prevent surprises and ensures durability across wear and washing.
Care, Maintenance, and Sourcing: Keeping Your Custom Patches Looking Fresh
Care and maintenance extend the life of embroidered patches. Turn garments inside-out before washing, use cold or warm water on a gentle cycle, and avoid high heat to protect stitching and backing.
Sourcing quality patches is the next step. Seek suppliers with clear digitizing specs, fabric compatibility information, finishing options (such as merrow vs other edge types), and transparent turnaround timelines to scale your patch embroidery projects—whether you’re producing a small run of custom patches or a larger batch.
Frequently Asked Questions
What are Embroidered Patches and how does patch embroidery add value to clothing?
Embroidered Patches are small fabric pieces with decorative stitching that can be ironed on or sewn onto garments. Patch embroidery creates durable, visually striking designs that convey themes—from logos to artwork—and can be applied with iron-on or sew-on backing for versatile wear.
How can I start with DIY patch design to create Custom Patches?
Begin by defining your audience and the story the patch should tell, then decide on size, shape, and color. Move to digitizing for patch embroidery to turn your concept into a production-ready design, helping you build a cohesive line of custom patches.
What backing options work for Embroidered Patches and which fabrics suit iron-on patches?
Backing options include iron-on patches, sew-on patches, and heat-activated adhesives. Iron-on patches work well on denim patches and similar fabrics, while sew-on patches offer durability on delicate fabrics like leather; always test on a hidden area first.
What is the best way to apply Embroidered Patches to denim patches or other fabrics?
Prepare the surface, position the patch, and apply according to backing: use cloth barrier and firm, even heat for iron-on patches, then let it cool to set. For sew-on patches, sew along the edge with a tight running or zigzag stitch and reinforce corners for curved shapes.
How should I choose edge finishes and materials for patch embroidery to maximize durability?
Pick a durable edge like merrowed stitching for a clean, professional finish. Choose a suitable base fabric (twill, felt, leather) and match backing and stitch density to prevent fraying, puckering, or distortion during wear.
How can I care for Embroidered Patches to keep custom patches looking fresh?
Turn garments inside-out before washing, use cold or warm water on a gentle cycle, and air-dry when possible. If using a dryer, select low heat, and avoid prolonged sun exposure to prevent fading and edge wear.
| Aspect | Key Points | Notes / Examples |
|---|---|---|
| What are embroidered patches? | Small fabric pieces with decorative stitching that can be ironed or sewn onto garments; convey themes; durable edge finish. | Used for personalizing clothing and accessories; durable, aesthetic craft technique. |
| Why patches appeal (design purpose) | Offer a way to express themes (logos, badges, quotes, motifs) in a compact form. | Great for branding lines, hobby projects, and personal storytelling. |
| Design considerations | Audience, story, and how the patch will be used drive decisions on size, color, and detail. | Examples: bold, clean outlines for leather jackets; playful scenes for backpacks. |
| Key design elements | Theme/message; Size/shape; Color strategy; Edging/backing compatibility. | Merrowed edges for durability; satin borders for sleek look on small patches. |
| Backing options | Iron-On, Sew-On, Peel-and-Stick/Adhesives. | Consider fabric compatibility and heat requirements; testing is advised. |
| From idea to execution | Digitizing and design preparation; material and backing selection; stitch types and density; edge finishing. | Use proper digitizing for clarity; merrow edge is standard for durability. |
| Textile compatibility | Denim, Leather, Cotton, Canvas, and more. | Different fabrics require different backs, stitches, and edge treatments. |
| Application techniques | Clean surface; align with pins; iron-on with proper heat or sew-on with stitching; reinforce edges. | Follow a methodical steps sequence for best results. |
| Care and maintenance | Washing guidelines to reduce wear on patch and backing. | Turn garment inside-out; gentle cycle; avoid high heat; air-dry when possible. |
| Creative ideas & sourcing | Style versatility and supply options for patches. | Group patches for collages; source from reputable studios or suppliers with clear specs. |
Summary
Conclusion: Embroidered Patches offer a timeless, flexible route to personalizing clothing and accessories. The combination of thoughtful design, suitable backing, and proper application yields patches that are not only visually striking but also built to last. Whether you’re creating custom patches for a brand, building a personal collection of denim patches, or exploring DIY patch design as a hobby, the world of embroidery is open and inviting. Start with a clear concept, experiment with size and color, and you’ll unlock a spectrum of style possibilities that keep your wardrobe fresh and expressive. Embrace the craft of patch embroidery, and let your patches tell your story.