The custom shirt design process begins with a clear brief and your vision, turning ideas into wearable form. From concept to execution, this journey covers ideation, fabric selection, artwork, and the custom shirt design steps, ensuring the shirt aligns with both comfort and style. This introduction helps you navigate the shirt customization process and clarifies how to design a custom shirt. Integrating ideas like custom shirt design ideas and the broader apparel design process keeps you aligned with production realities and brand goals. Whether you are designing a single piece or a small collection, this structured approach prioritizes fit, durability, and wearer satisfaction.
Beyond the specific steps, you can frame this work as a garment customization pathway that moves from concept to a finished garment. In practice, it centers on pattern drafting, fabric testing, and branding decisions as part of the broader apparel design process. Thoughtful iterations rely on prototyping, sampling, grading for sizes, and coordinating with factories to ensure quality and consistency. Using alternative terms like prototyping, textile selection, and production planning helps you speak to makers while signaling user intent for search and discovery. This approach also supports scalability, collaboration, and timely feedback throughout the production cycle.
Ideation and Concept Development for Custom Shirt Design
Ideation sets the direction for any successful shirt project. In the early stage, you translate a mood board into tangible design elements—silhouette, collar, sleeve length, and proportion—that align with your target wearer. Embrace the concept-first mindset of the custom shirt design process, knowing that every choice affects fit, comfort, and wearability. Use prompts like who the shirt is for, the intended use, and what success looks like to anchor your decisions and guide discussions with makers.
As you explore ideas, think about the broader apparel design process while keeping the focus squarely on a memorable product. Gather inspiration from existing custom shirt design ideas, then test how different silhouettes, fabrics, and finishes might work together. This phase is about clarity: a well-defined concept helps you communicate with suppliers and set realistic expectations for cost, lead times, and feasibility.
Fabric and Material Selection to Shape Comfort and Performance
Fabric choice is a central pillar of the shirt’s character. The right weave, weight, and finish influence drape, hand feel, breathability, and care. In the context of the apparel design process, select fabrics that match the shirt’s use—light cottons for warm climates, refined poplins for everyday wear, or performance blends for active days. Your choices should support the envisioned design and ensure comfort across different movement scenarios.
Approach material decisions with a practical checklist: define the climate and usage, assess durability and care requirements, and test swatches to gauge color reproduction and texture. Don’t forget compatibility with printing or embroidery plans—the fabric should respond well to the chosen embellishment while still delivering the intended look. Document how each option aligns with your custom shirt design steps to keep testing efficient and aligned with the project’s budget and timeline.
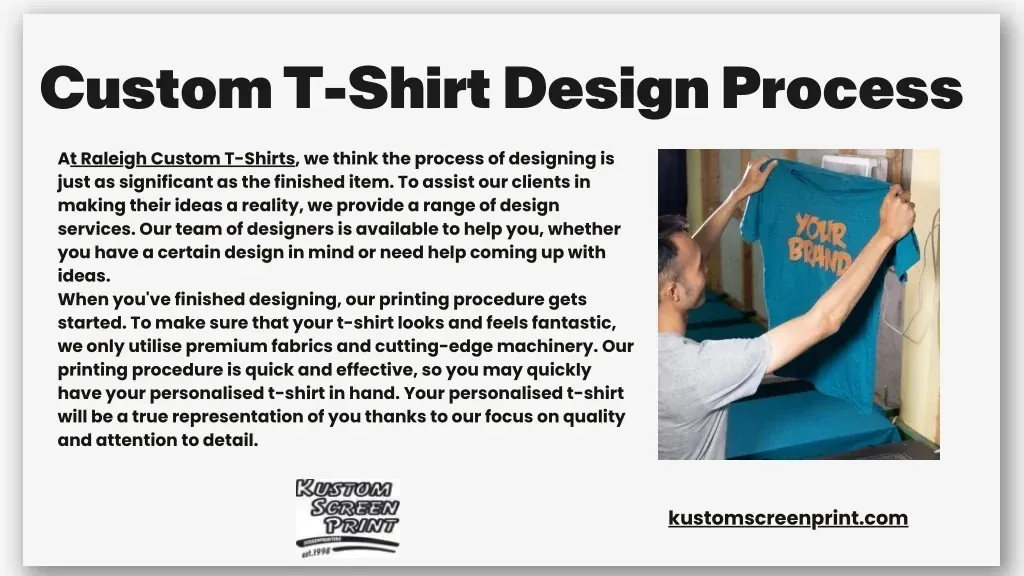
Artwork, Branding, and Personalization in a Custom Shirt
Artwork and branding bring the concept to life, whether through bold prints, subtle embroidery, or discrete labeling. In this stage, plan placement and scale with wearer proportions in mind, ensuring that any logo or typography supports the overall concept rather than competing with it. The design decisions should reinforce the concept you started with in the custom shirt design process, creating a cohesive visual story.
Prepare digital assets carefully, vet vector files or high-resolution images with your printer or embroiderer, and consider colorways that harmonize with the fabric. This phase should also account for production realities—some finishes require higher minimums or specialized equipment. By keeping artwork scalable, reproducible, and true to the original concept, you lay a solid foundation for a polished final product.
Patterning and Sampling: From Concept to Wearable Prototype
Patterning translates design into a tangible garment. Whether you use digital CAD or traditional paper patterns, the goal is accuracy and repeatability within the custom shirt design process. Start with a baseline pattern that reflects the intended fit—slim, contemporary, or generous—and include precise measurements to ensure consistency across sizes.
Develop a muslin or sample fabric test to evaluate fit, seam lines, necklines, and sleeve ease before committing to final fabric. Iteration matters: seek feedback from real users, observe movement and comfort, and adjust accordingly. This stage often revisits earlier decisions on collar height, plackets, and cuffs to ensure the final pattern aligns with your original concept.
Production Planning and Quality Control for Consistent Outcomes
With a finalized pattern and approved sample, shift into production planning and quality control. Select manufacturers that can reliably handle your fabric type, construction standards, and ethical commitments. Document production specs—stitch types, thread colors, seam allowances, button choices—and establish a clear quality-check protocol for pre-production, in-line, and final inspections.
Plan quantities and lead times realistically, and prepare for potential bottlenecks. A robust QC framework helps catch issues early—misaligned prints, skipped stitches, or fabric flaws—before the full run is manufactured. Clear communication, living spec sheets, and well-defined expectations are essential to deliver a garment that precisely matches the original concept.
Launch, Feedback, and Iteration: Evolving Your Custom Shirt Line
Launching a shirt design is the starting line for feedback-driven improvement. Gather input from wearers, retailers, and teammates to assess fit, comfort, print quality, and overall perception. This is where the custom shirt design process truly becomes iterative, moving from a single piece to an evolving product language.
Use the insights to refine fabric choices, artwork approaches, sizing, and production methods. Documentation and structured feedback loops help you learn faster, reduce lead times, and align future iterations with brand goals and customer expectations. By embracing iteration, you’ll transform initial concepts into dependable, scalable designs that stay fresh in a competitive apparel landscape.
Frequently Asked Questions
What is the custom shirt design process and why does it matter?
The custom shirt design process is a deliberate, stage‑based journey from idea to finished garment. It covers ideation, fabric and trims, artwork/branding, patterning and sampling, production planning, and final QC. Following this structured approach helps you achieve the right fit, comfortable wear, on‑brand styling, and predictable timelines and costs, while keeping everyone aligned with the original concept within the broader apparel design process.
How can I generate ideas for a custom shirt design ideas using the custom shirt design process?
Start with inspiration and a mood board, then translate vibes into concrete elements such as silhouette, collar, sleeve, and print. Capture potential directions as custom shirt design ideas and map them to practical constraints like budget and lead times. This keeps ideation aligned with the concept and facilitates clear communication with makers throughout the custom shirt design process.
What factors should I consider during fabric and material selection in the shirt customization process?
In the shirt customization process, choose fabric that fits the intended use and climate—breathable cottons for daily wear, performance blends for active use. Consider weight, weave, drape, durability, and care requirements, then test swatches for texture and color fidelity to ensure compatibility with prints or embroidery.
What are the essential steps in how to design a custom shirt, from concept to production?
Essential steps include: ideation and concept development, fabric and material selection, artwork/branding, patterning and sampling, production planning and quality control, finalization and sizing, and launch. Each step builds on the last to deliver a garment that matches the concept, budget, and timeline.
How do artwork, branding, and personalization fit into the custom shirt design steps?
Artwork, branding, and personalization are integrated by planning placement and scale, choosing colorways that work with the fabric, and preparing digital assets for accurate reproduction. This stage should reinforce the concept while considering production realities, labeling, and packaging to ensure a cohesive end product.
In the apparel design process, what should be included in a design brief for a custom shirt and how many samples are recommended?
A design brief should cover target audience, silhouette, fabric, color, prints or branding, placement, sizing strategy, and production expectations. For sampling, plan at least two samples—one for fit and appearance and another to verify print/finish quality before final production; more samples may be needed for multiple sizes or colorways.
| Stage | Key Points |
|---|---|
| Core questions guiding the project |
|
| Stage 1 — Ideation and concept development |
|
| Stage 2 — Fabric and material selection |
|
| Stage 3 — Artwork, branding, and personalization |
|
| Stage 4 — Patterning and sampling |
|
| Stage 5 — Production planning and quality control |
|
| Stage 6 — Finalization, sizing, and customer experience |
|
| Stage 7 — Launch, feedback, and iteration |
|
| Practical tips for each phase |
|
| Common questions about the design journey |
|
Summary
The custom shirt design process is a disciplined blend of creativity and practicality that moves from concept to closet. By treating ideation, material selection, artwork, patterning, production, and launch as stages in a cohesive sequence, you improve your odds of delivering a shirt that fits well, wears well, and reflects the original concept. Whether you are a brand designer, a studio artist, or a DIY enthusiast, this approach keeps you organized, communicates with suppliers, and helps achieve a result that resonates with your goals and your customers’ expectations. As you gain experience, you’ll refine your workflow, reduce lead times, and create shirts that become durable staples in the wardrobe.