In the world of DIY fashion, Embroidered Patches vs Iron-On Patches frames the choice between lasting stitch and quick adhesion. For those learning how to apply embroidered patches, durability and stitch quality matter. If you prefer quick customization, considering how to apply iron-on patches can save time, while care tips for patches help maintain appearance. The durability of embroidered vs iron-on patches depends on fabric, washing, and whether you sew or bond the design. A thoughtful cost comparison embroidered vs iron-on patches weighs upfront sewing costs against long-term reliability and replacement needs.
Put simply, the sewn-on patch approach and the heat-pressed patch method share a common goal—customizing fabric—yet they diverge in how they attach, how they endure wear, and how they interact with different materials. When you opt for sewn-on patches, you gain durable longevity through stitched anchoring and a tactile texture that holds up to frequent washing. In contrast, heat-activated patches—also known as iron-on patches or adhesive-backed designs—rely on a temperature-activated bond, offering rapid results but sometimes needing reinforcement for high-wear areas. From an LSI perspective, related terms like fabric patches, adhesive-backed patches, and sewing-balanced badges help readers discover care tips for patches and durability considerations without repeating the exact product names. Ultimately, the best choice depends on fabric type, project timeline, and whether you value long-term resilience or flexibility in removal.
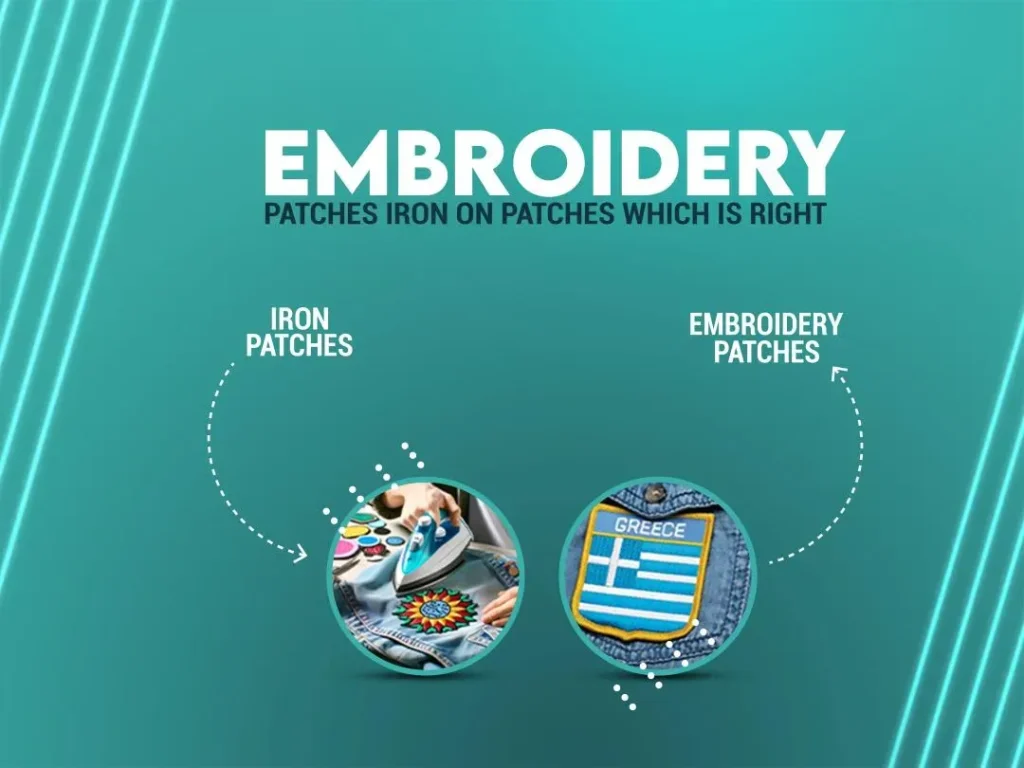
Embroidered Patches vs Iron-On Patches: Durability, Application, and Longevity
When evaluating Embroidered Patches vs Iron-On Patches, the core difference is how they attach and endure daily wear. Embroidered patches, sewn securely onto fabric, generally deliver superior durability because the stitching anchors the design in place even after repeated washing and heavy use. This is especially true on sturdy materials like denim and canvas, where dense stitching resists peeling and edge fraying over time.
Iron-on patches rely on a heat-activated adhesive that bonds the patch to the surface. They offer quick results and ease of use, making them popular for temporary décor or for projects without sewing expertise. However, the durability of iron-on patches can vary significantly based on fabric type, laundering conditions, and how aggressively the patch is worn.
How to Apply Embroidered Patches: Sewing Techniques for Lasting Hold
If you’re aiming for a durable, long-lasting embellishment, learning how to apply embroidered patches by sewing is essential. Start by positioning the patch exactly where you want it, then secure it with pins or temporary fabric glue before stitching.
Choose sturdy stitches around the edge—straight, blanket, or a dense zigzag—so the patch remains firmly attached through many wash cycles. Finish with clean thread knots on the inside and trim any excess. This method aligns with best practices for care tips for patches and can dramatically extend the patch’s life.
How to Apply Iron-On Patches: Quick, Safe, and Effective Adhesive Application
For a fast transformation, learning how to apply iron-on patches is invaluable. Start with a clean, dry fabric and place the patch where you want it. Use a thin cloth or parchment paper to protect the patch during ironing.
Apply heat with a hot iron (no steam) for the time specified by the patch instructions, pressing firmly. Let the patch cool completely to set, then gently test the edges to confirm adhesion. For added security, especially on high-wear areas, consider reinforcing by stitching around the edge after the heat application.
Care Tips for Patches: Washing, Drying, and Maintenance
Proper care helps patches retain their color, shape, and attachment. Always turn garments inside out and wash in cold water to minimize stress on the patch edges, whether you used embroidered or iron-on patches.
Air-drying is preferred for longevity, and if you must use a dryer, select a low heat setting. If edges begin to lift, re-securing with stitching for embroidered patches or re-adhesion for iron-on patches can keep the design looking fresh and intact.
Durability of Embroidered vs Iron-On Patches: Real-World Performance Across Fabrics
The durability of embroidered versus iron-on patches varies by fabric, wash routine, and wear pattern. In most cases, embroidered patches that are sewn on resist abrasion and repeated laundering better, especially on denim, canvas, and leather, where stitching remains secure through years of use.
Iron-on patches can perform well for quick or temporary needs, cosplay, or lightweight fabrics. However, excessive heat exposure or frequent washing may cause the adhesive to soften or peel, particularly on delicate or stretch fabrics. Assessing durability across fabrics helps you choose the right method for the project.
Cost Comparison Embroidered vs Iron-On Patches: Value, Longevity, and Budget Planning
When budgeting patch projects, consider cost per patch, including labor time. Embroidered patches often carry a higher upfront price due to material quality and sewing requirements, but they deliver lasting durability that lowers replacement costs over time.
Iron-on patches tend to be cheaper upfront and ideal for bulk projects or quick customization. Over the long term, however, you may spend more on re-application or reinforcement if patches loosen. This cost comparison embroidered vs iron-on patches helps you weigh immediate savings against long-term value.
Frequently Asked Questions
Embroidered Patches vs Iron-On Patches: how to apply embroidered patches?
To apply embroidered patches (sewn-on), position the patch, pin it, and stitch around the edge with a dense zigzag or blanket stitch. Secure the threads, trim excess, and turn the garment inside-out for washing. This follows the principles of how to apply embroidered patches and yields durable results.
Embroidered Patches vs Iron-On Patches: how to apply iron-on patches?
Prepare the fabric, position the patch, and cover with parchment if needed. Apply heat with a dry iron (no steam) for 15–30 seconds with firm pressure. Let the patch cool, test the adhesion at the edges, and reinforce with stitching on high-wear areas if desired. This outlines how to apply iron-on patches and provides a quick, temporary option.
Care tips for patches: how do care tips for patches apply to Embroidered Patches vs Iron-On Patches?
Follow general care tips: turn garments inside-out and use cold water to reduce edge stress; air-dry when possible. For iron-ons, avoid high heat cycles and tumble drying; for embroidered patches, consider adding a light topstitch to protect the perimeter. Regularly reseal or re-stitch edges if needed.
Durability of embroidered vs iron-on patches: which lasts longer on common fabrics?
Generally, sewn-on embroidered patches last longer and resist peeling, especially on denim, canvas, and leather, due to durable stitching. Iron-on patches can fail with repeated washing or heat exposure, especially on delicate or high-friction areas. Durability varies with fabric and care.
Cost comparison embroidered vs iron-on patches: which option offers the best value?
Iron-on patches often cost less upfront and are quicker to apply, making them economical for bulk projects or temporary designs. Embroidered patches usually involve sewing time or higher-quality stitching, adding cost but yielding longer-lasting results. Over time, durability differences affect overall value.
Choosing between Embroidered Patches vs Iron-On Patches: what fabric types suit each method?
For denim, canvas, and leather, embroidered patches provide the best durability. Heavy fabrics tolerate sewing well, while iron-ons work well for quick projects or fabrics that are easy to press. Delicate fabrics like silk or satin may be damaged by iron-on adhesives, so sewing is often safer. Always consider fabric and wear pattern.
| Aspect | Embroidered Patches | Iron-On Patches | Takeaway |
|---|---|---|---|
| Durability | Long-lasting when sewn; best on denim, canvas, leather; resists wear and frequent washing. | Adhesive durability varies; heat/wash exposure can weaken bond. | Sewn patches generally offer superior durability; iron-ons are convenient for quick fixes. |
| Application Method | Sewn on by hand or machine; time and skill required. | Heat-activated adhesive; quick to apply; no sewing required. | Choose method based on time and sewing ability. |
| Fabric Compatibility | Great on denim, canvas, leather; robust stitching holds on rough fabrics. | Works on many fabrics but can be tricky on silk/stretch; may need backing or reinforcement. | Consider fabric type when choosing method. |
| Cost | Higher upfront if counting sewing time; prices vary; durable value long-term. | Lower per-patch cost; saves time; potential reapplication costs if bond fails. | For bulk projects, iron-ons save time; embroidered patches offer lasting value. |
| Aesthetics | Texture-rich, premium look; detailed edges. | Smooth finish; flat appearance; less texture. | Choose embroidered for texture and premium feel; choose iron-on for a sleek look. |
| Care Tips | Turn garment inside out; cold/warm wash; air dry; avoid high heat. | Gentle wash; avoid high heat; re-seal or reinforce if needed. | Follow care tips to extend patch life; embroidered withstands harsh washing; iron-on requires gentler care. |
| Removal & Reapplication | Generally permanent; removal can damage fabric; hard to reuse. | May peel; residue possible; easier to remove and reapply; may require edge cleaning. | Consider future garment use; embroidered patches are harder to remove; iron-ons offer flexibility. |
Summary
HTML table created to explain the key points of Embroidered Patches vs Iron-On Patches. The table covers durability, application method, fabric compatibility, cost, aesthetics, care tips, and removal/reapplication considerations for both patch types. It helps readers compare methods and make informed choices based on fabric, usage, and maintenance needs.